

As an Amazon Affiliate, I earn from qualifying purchases.
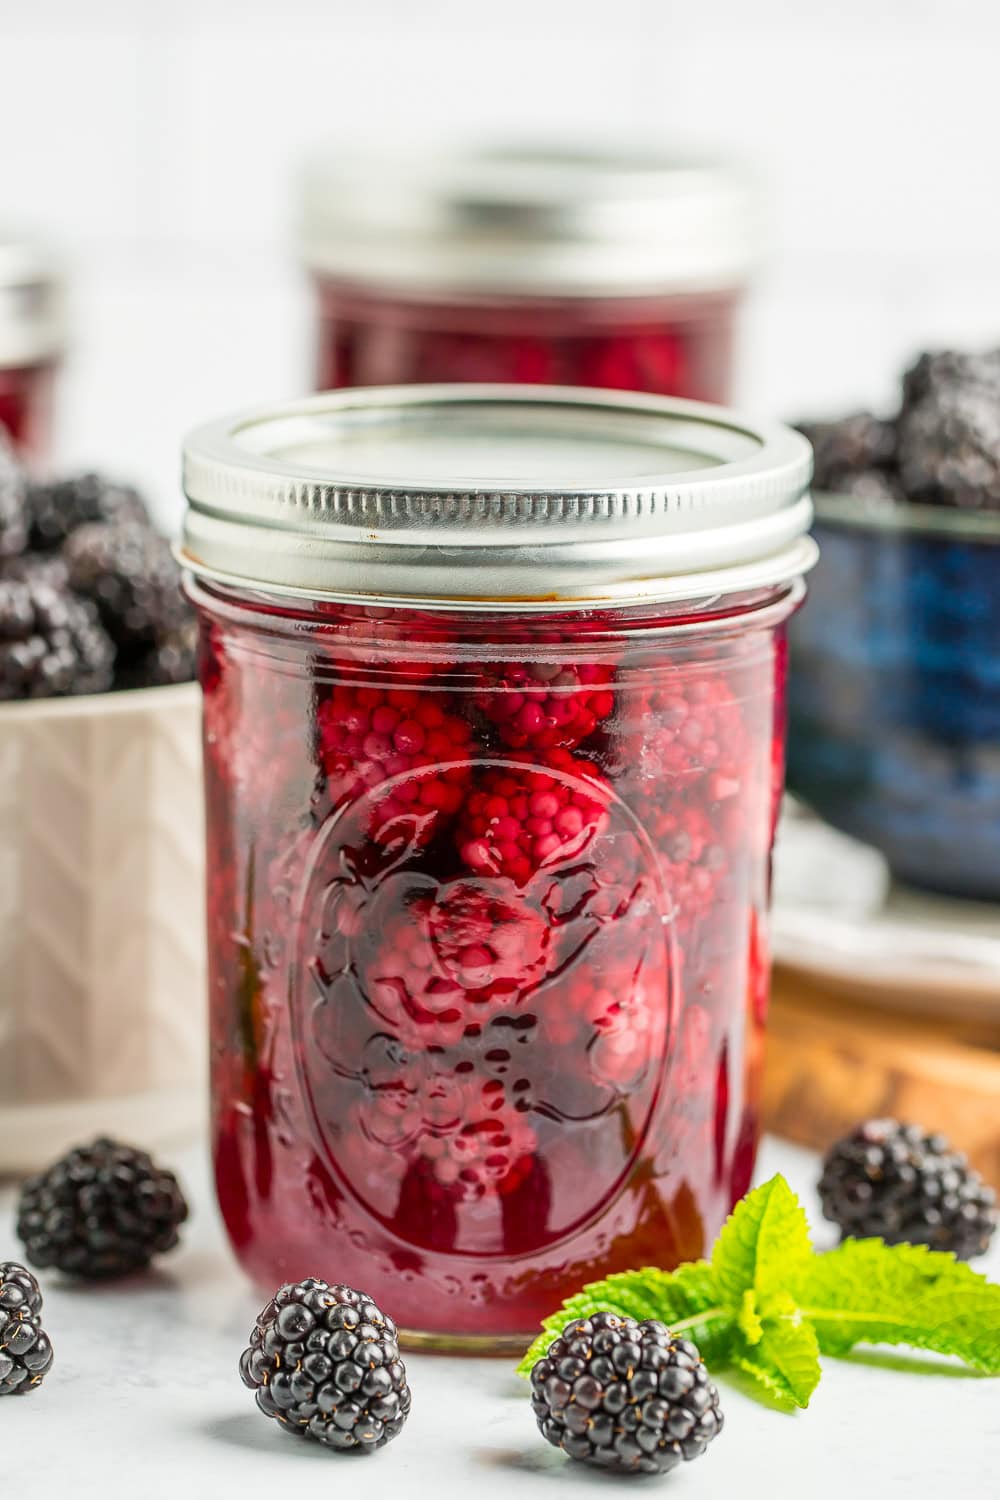
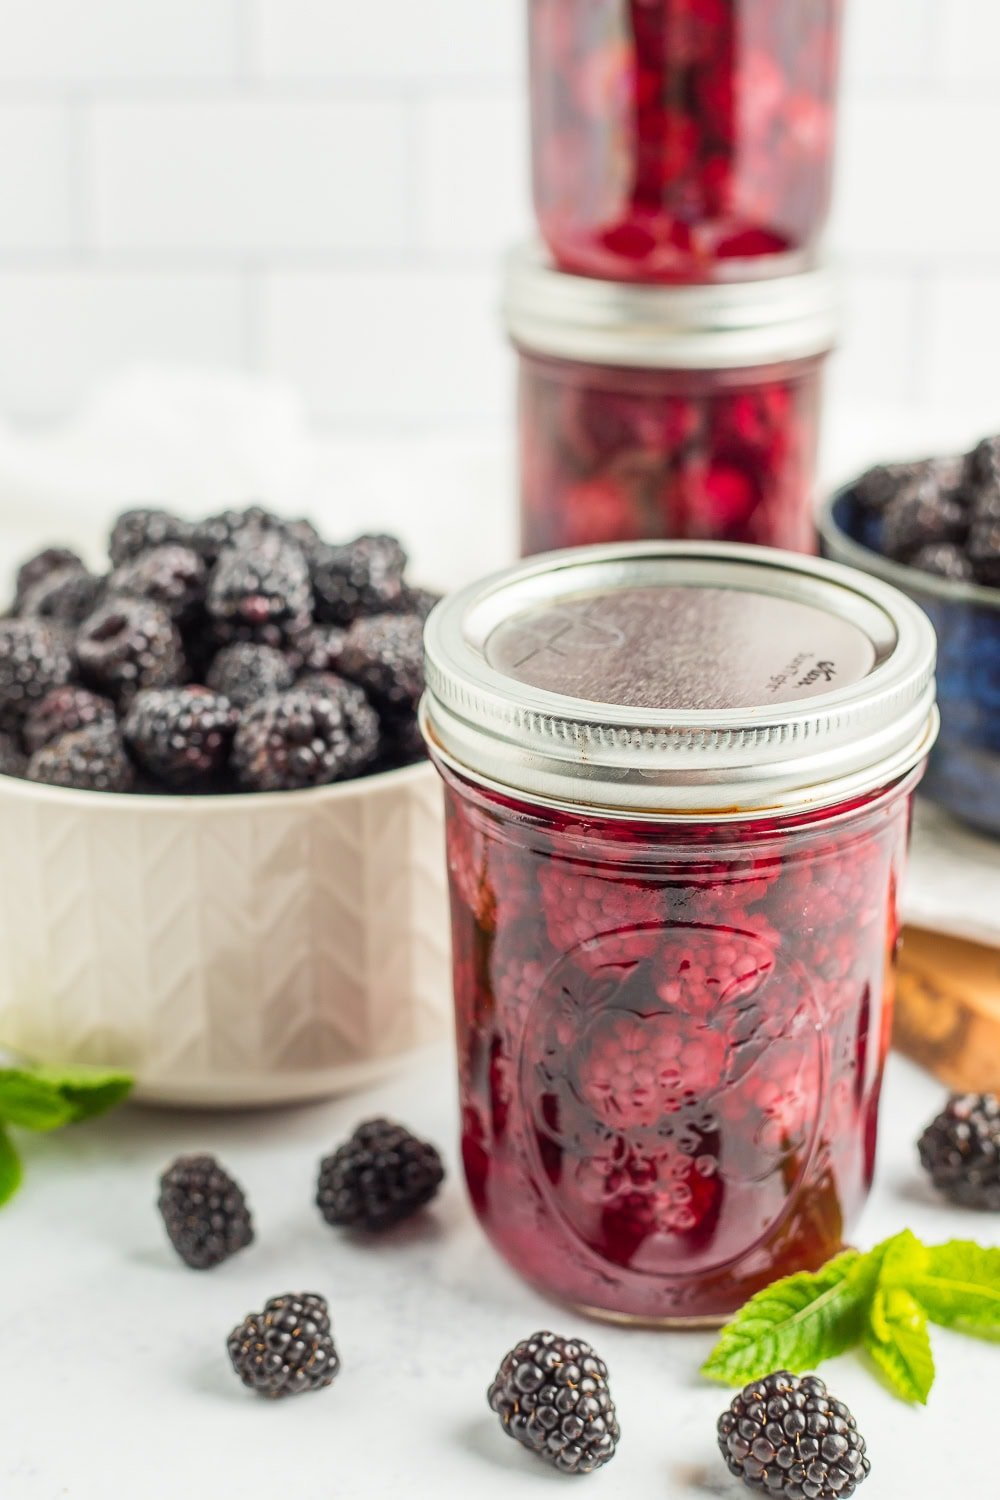
You’ll love this simple step-by-step tutorial on canning blackberries. This recipe for the right way to can blackberries is ideal for newcomers and skilled canners alike. These home-canned blackberries are like jars of summer time and sunshine.
Consuming contemporary blackberries nonetheless heat from the backyard (or in Washington State, it’s extra like freshly picked from the facet of the street…) is a top-tier summer time expertise.
But it surely’s laborious to argue with the enjoyment of opening a jar of canned blackberries within the lifeless of winter. Tasty summer time produce actually helps make “The Massive Darkish” extra bearable.
The excellent news is that canning blackberries is tremendous easy to do, even if you happen to’re a beginner. I’m right here with you each step of the best way. Let’s get began!
Only a heads up – whereas nonetheless scrumptious as soon as they’re canned, blackberries are inclined to lose coloration over time. And given their post-canning texture, they’re not preferrred for “contemporary consuming”, however as a substitute, they’d be absolute perfection in our blackberry and apple crumble or blackberry compote.
Learn how to Can Blackberries
First up, put together your water tub canner by filling it with water. You’ll want to have sufficient water to cowl the jars by 1 inch as soon as the water is boiling.
Set the canner on the range. Flip the burner to excessive. As soon as it reaches a boil, scale back it to a simmer. You need to preserve the water scorching in order that every part is prepared when the fruit is.
Wash and clear your jars. You’ll need to preserve them heat to keep away from having them crack when positioned within the canner. You possibly can fill them with scorching water or place them on a tray within the oven at 170˚F.
Wash your lids and set them apart in a clear place. You now not must simmer lids in water to maintain them sterile. Woot!
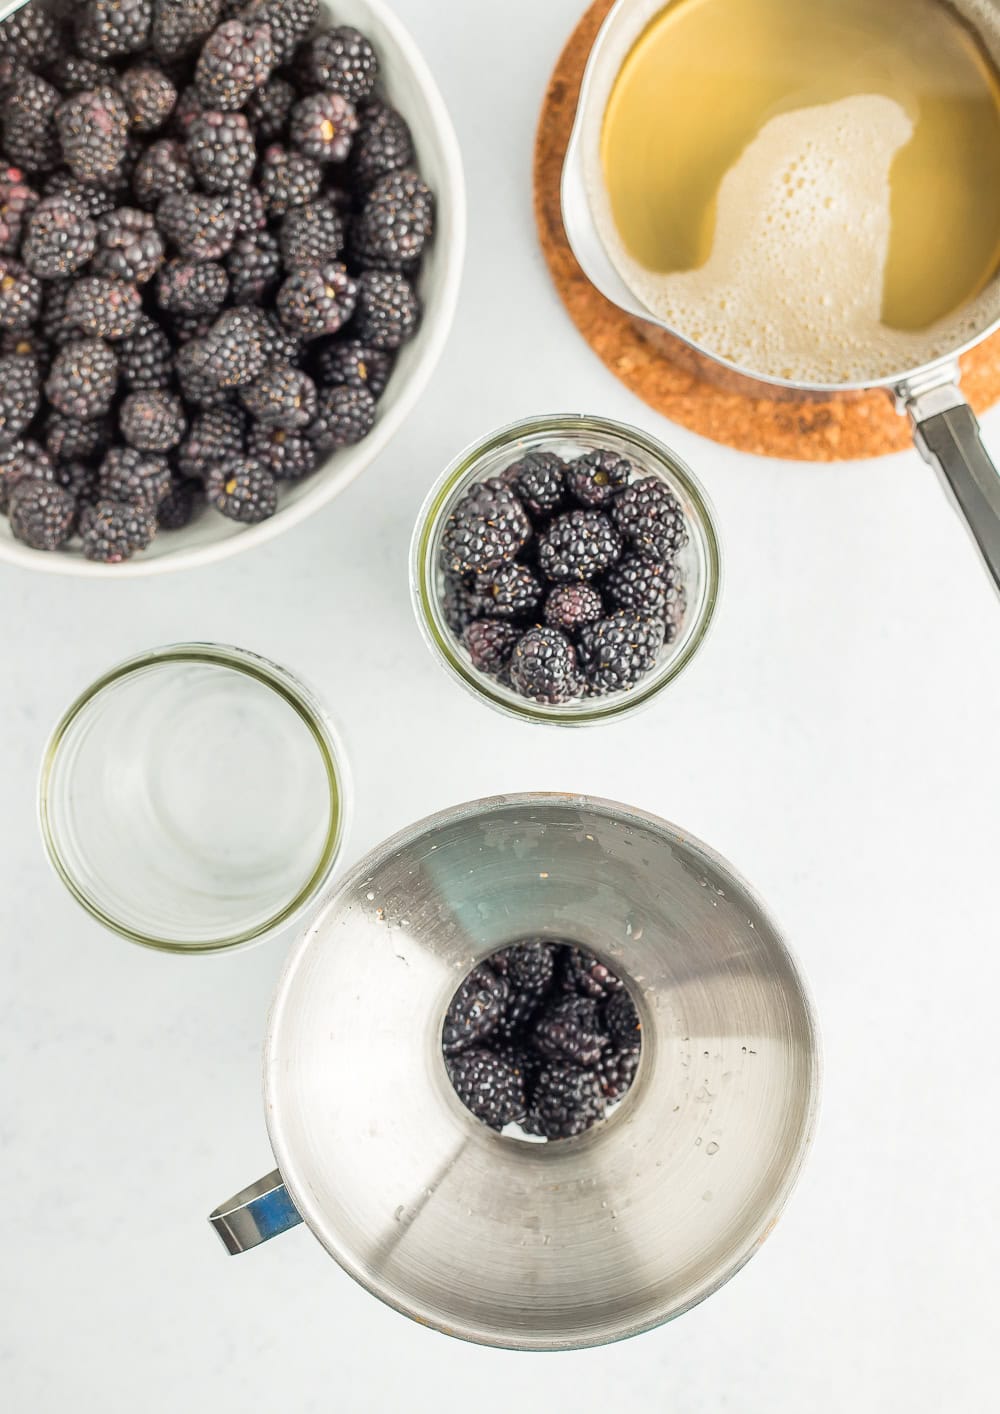
Give these beautiful blackberries a pleasant little rinse and allow them to sit for a bit in a strainer.
Subsequent up, let’s determine what liquid you need to use for canning your blackberries. You should utilize a sugar syrup, plain water, or juice. Take a look at the chart beneath to determine what may work greatest for you.
Syrups for Canning
| Syrups for Canning | ||||
| Sort of Syrup | Sweetener | Quantity of Sweetener | Water | Yield |
| Very gentle | Sugar | 1 cup | 6 cups | 5 3/4 cups |
| Mild | Sugar | 2 1/4 cups | 5 1/4 cups | 6 1/2 cups |
| Medium | Sugar | 3 1/4 cups | 5 cups | 7 cups |
| Heavy | Sugar | 4 cups | 5 cups | 7 cups |
| Honey | Honey | 1 cup | 4 cups | 4 1/4 cups |
| Juice | Apple or white juice focus | 1 1/2 cups | 4 1/2 cups | 6 cups |
| *Supply: Nationwide Heart For House Meals Preservation | ||||
My desire is to make use of a lightweight syrup for my blackberries. You’ll see that within the images beneath.
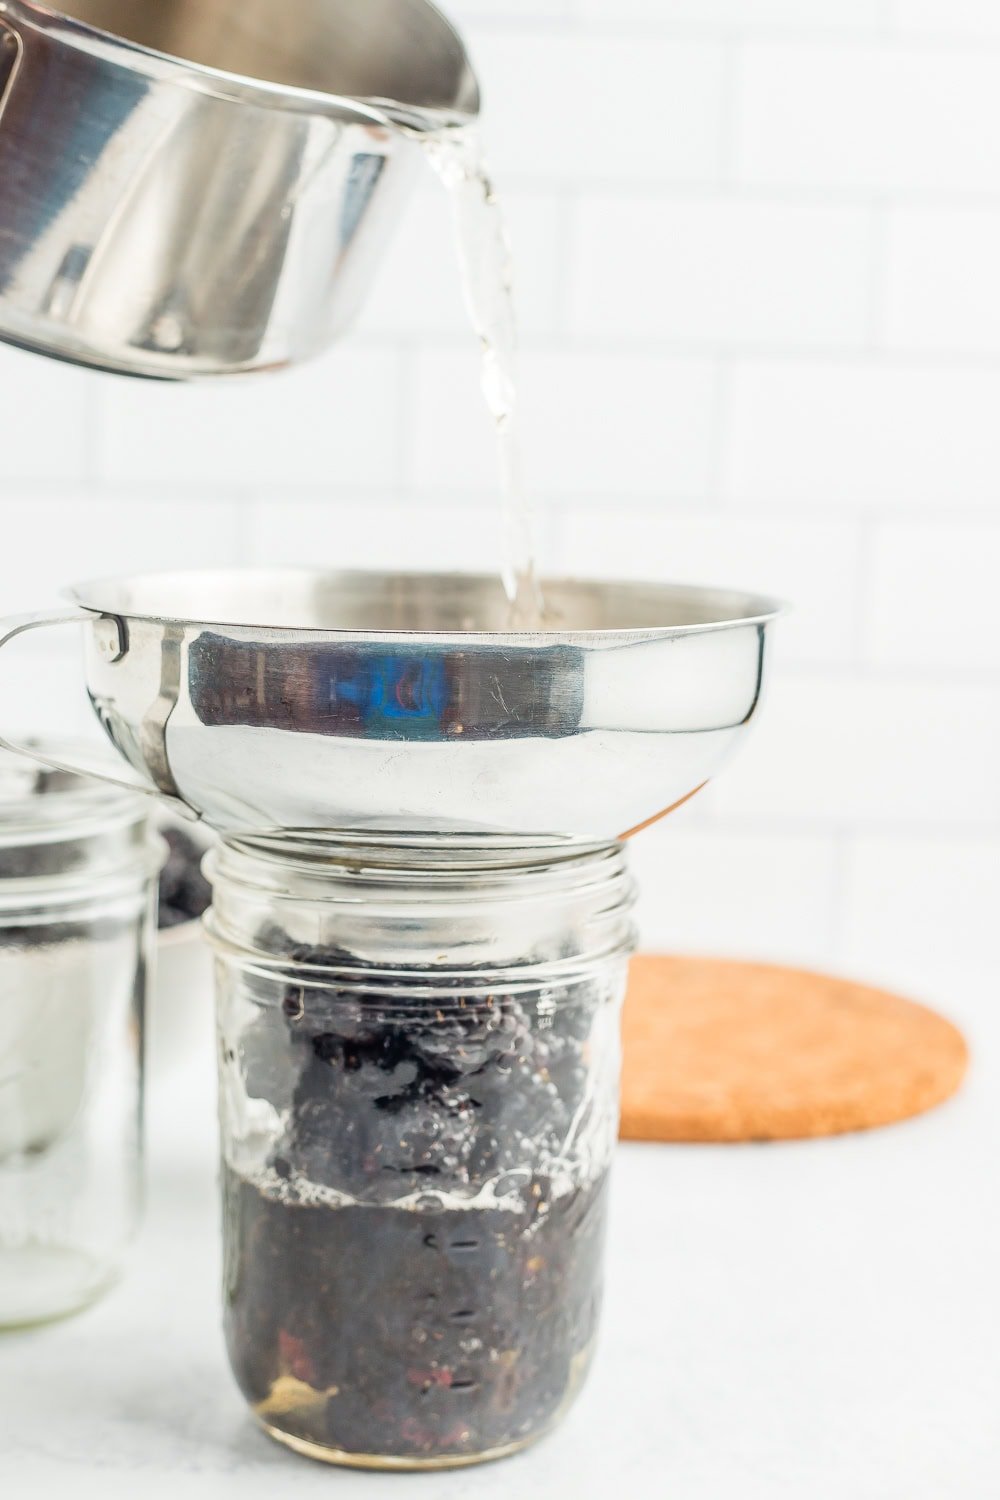
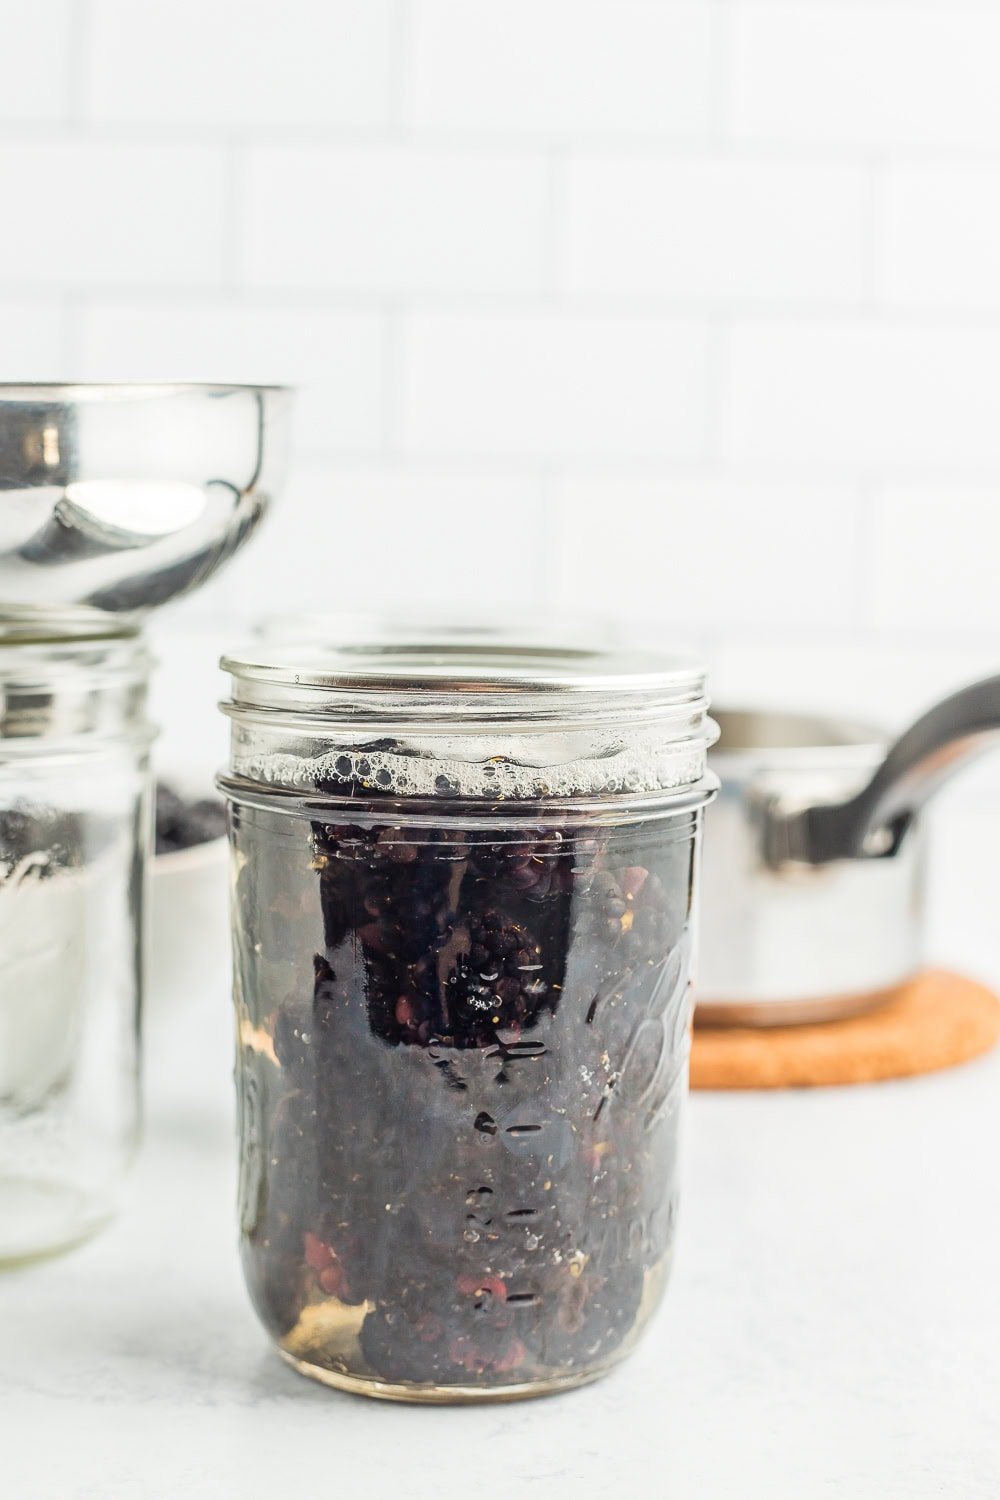
Place a canning funnel on prime of one of many jars and fill with blackberries, gently tapping the underside of the jar on the counter to assist them settle. Rigorously pour in your syrup/water/juice into the jars, leaving 1/2 inch of headspace.
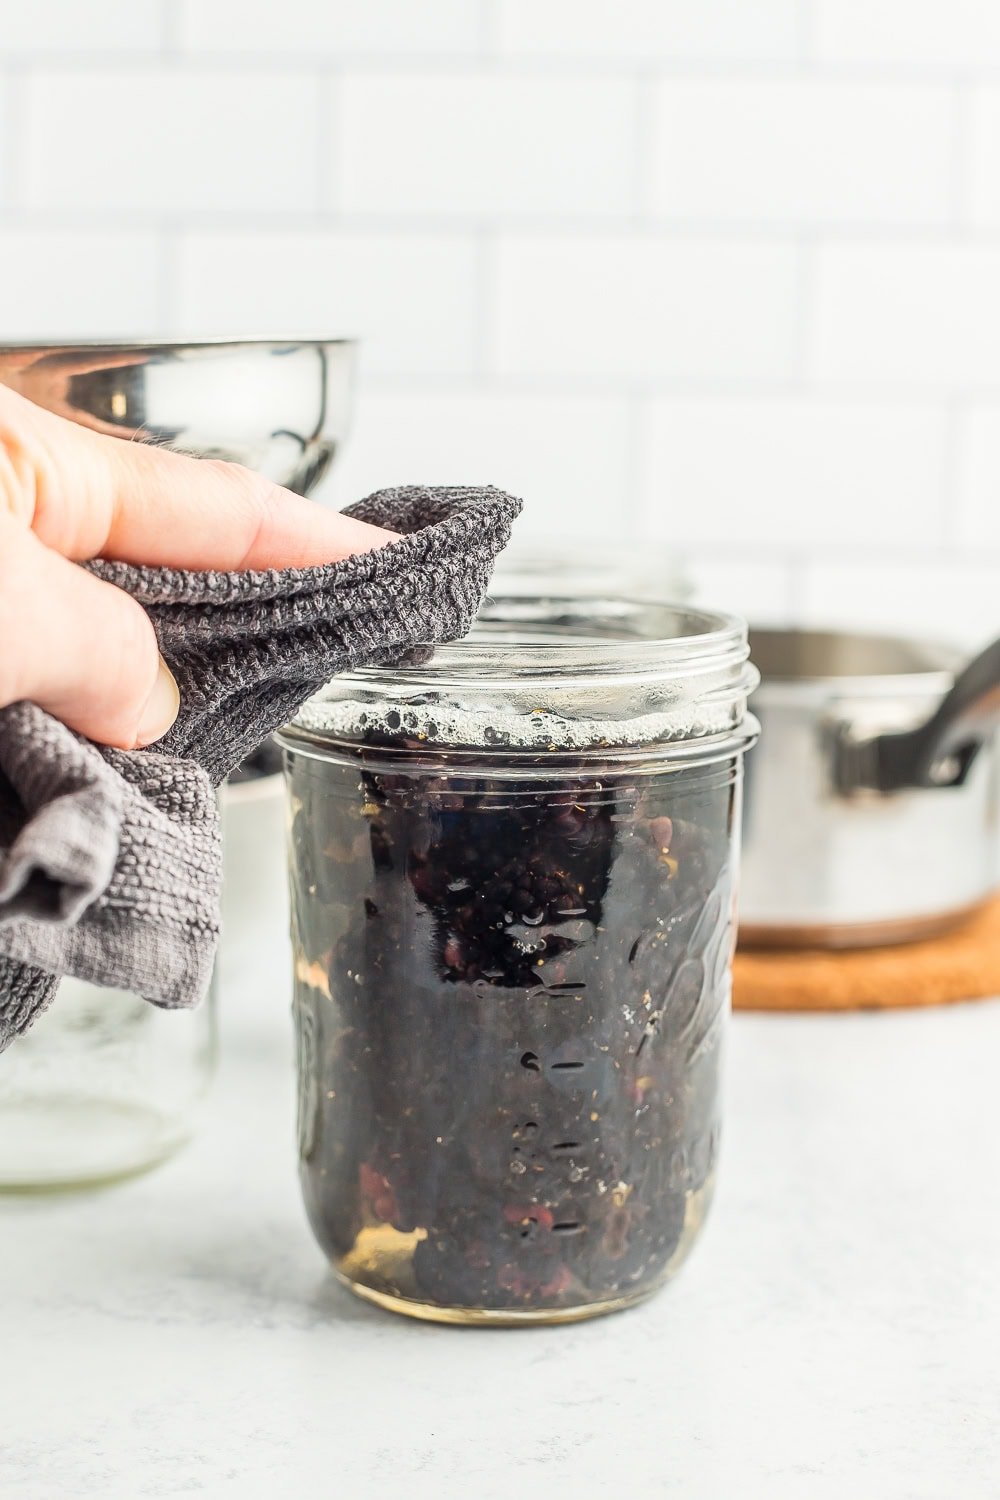
Take away any bubbles from the jar (I take advantage of a plastic chopstick). Use a moist clear rag and wipe the rim of the jars to verify they’re freed from any syrup or blackberries.
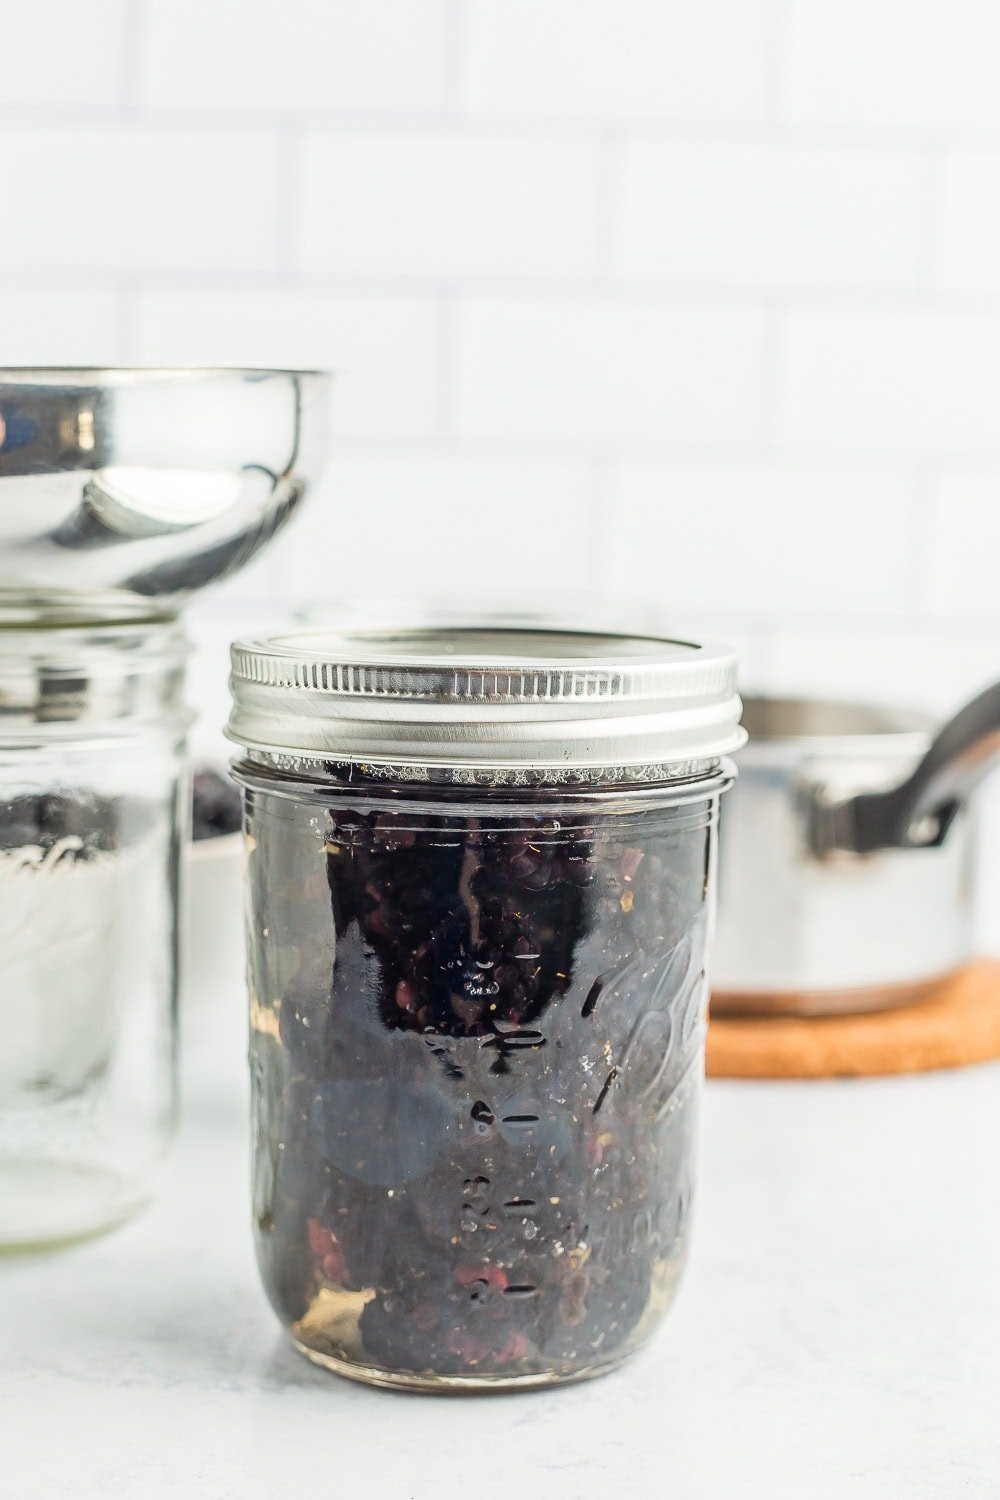
Place a clear lid on the jar after which a hoop. Tighten the ring to fingertip tight.
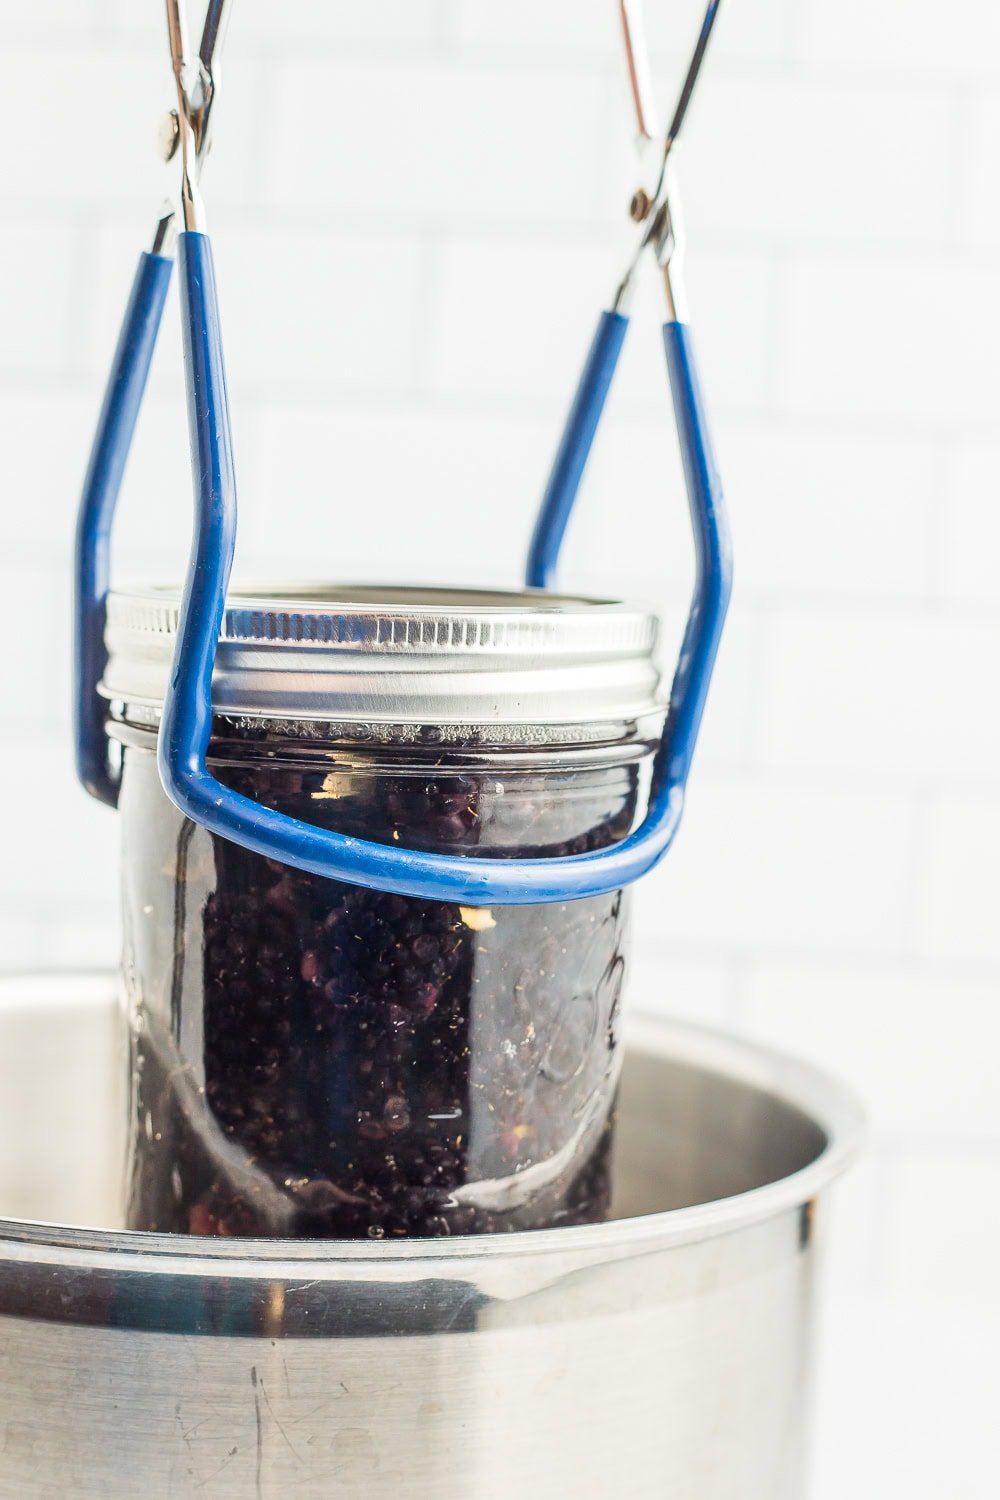
Utilizing canning tongs, add your jars to the boiling water, and put the canner lid on. Professional tip: it’s essential to have at the least 1 inch of water over the tops of the jars for protected canning. Processing instances will fluctuate primarily based on altitude. See the chart beneath.
Processing Time for Blackberries
| Processing Time for Blackberries | |||||
| Course of Occasions at Altitudes of: | |||||
| Type of Pack | Jar Dimension | 0-1,000 ft | 1,001-3,000 ft | 3,001-6,000 ft | Aove 6,000 ft |
| Scorching | Pints | 15 min | 20 min | 20 min | 25 min |
| Quarts | 20 min | 25 min | 30 min | 35 min | |
| *Supply: Nationwide Heart For House Meals Preservation | |||||
As soon as the blackberries have processed for the suitable period of time, take away the canner from the burner, and thoroughly take away the lid of the canner (Professional tip: use oven mitts to take the lid off as a result of the steam is tremendous scorching).
Utilizing canning tongs, fastidiously take away the jars and place them on a thick towel in a spot the place they are often undisturbed for 12 hours.
After the jars have rested for about 12 hours, press down in the midst of every lid. If it “provides” in any respect, the jar didn’t seal. Both get pleasure from it that day, put it within the fridge, or reprocess it utilizing a NEW lid.
And if on the finish of the day you determine that canning blackberries is simply not for you (no shade), try our tutorial on the right way to freeze blackberries.
Stop your display from going darkish
Canning Prep
-
Put together your water tub canner by filling it with water. You simply must have sufficient water to cowl the jars by 1 inch as soon as the water is boiling.
water for canner
-
Set the canner on the range. Flip the burner to excessive. As soon as it reaches a boil, scale back it to a simmer.
-
Wash and sanitize your jars. You’ll need to preserve them heat to keep away from having them crack when positioned within the canner. You possibly can fill them with scorching water, or place them on a tray within the oven at 170˚F.
-
Wash your lids and set them apart in a clear place.
Canning Blackberries
-
Rinse the blackberries and take away any leaves, stems, and particles.
9 lbs blackberries
-
(Optionally available) create a syrup by combining sugar and water in a saucepan and heating it over medium warmth till the sugar has dissolved.When you aren’t utilizing a syrup, convey water to a boil in a saucepan and put aside.
1 cup sugar, 6 cups water
-
lace a canning funnel on prime of one of many jars and fill with blackberries, gently tapping the underside of the jar on the counter to assist them settle.
-
Rigorously pour in your syrup/water/juice into the jars, leaving 1/2 inch of headspace. Headspace is outlined because the area between the highest of the meals and the highest of the jar.
-
Take away any bubbles from the jar (I take advantage of a plastic chopstick).
-
Use a moist clear rag and wipe the rim of the jars to verify they’re freed from any syrup or blackberries.
-
Place a clear lid on the jar after which a hoop. Tighten the ring to fingertip tight.
-
Utilizing canning tongs, gently place your jars within the canner. Put the lid on, and set your timer. Professional tip: the water should return to a boil within the canner earlier than you can begin the timer.
-
Course of pints and quarts primarily based on the elevation information beneath:*0-1,000 ft – Pints =15 min Quarts =20 min*1,001-3,000 ft – Pints =20 min Quarts =25 min*3,001-6,000 ft – Pints =20 min Quarts =30 min*6,000 ft+ – Pints =25 min Quarts =35 min
Amount: A median of 12 kilos is required per canner load of seven quarts; a median of 8 kilos is required per canner load of 9 pints. A 24-quart crate weighs 36 kilos and yields 18 to 24 quarts – a median of 1¾ kilos per quart.